The following post was written by my mom, WWW (those are her initials, btw). Thanks, mom!
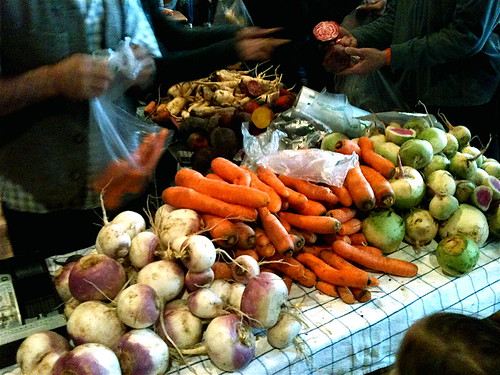
Somerville, MA Farmer's Market
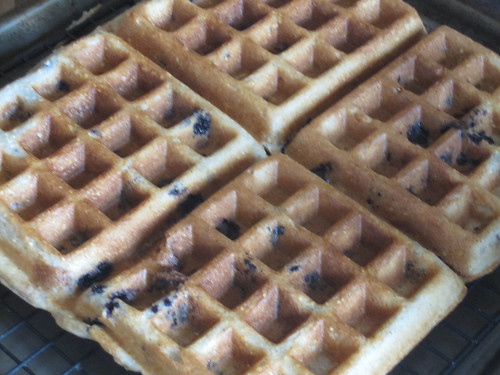
Gluten Free Blueberry Waffles
(Dry Ingredients)
1 ½ cups gluten free all-purpose flour (with guar gum. If not included in your mix, add ¼ tsp guar gum)
½ cup buckwheat flour
¼ coarse cornmeal
1 Tbsp baking powder
1 tbsp sugar
1 tsp salt
(Wet Ingredients)
2 cups buttermilk
3 eggs
½ cup oil
½ tsp vanilla
8 oz blueberries
Mix all the dry ingredients together. Whisk the eggs until blended and foamy. Add buttermilk, oil, and vanilla to eggs. Add wet to dry and mix until coated but don’t over mix. Add blueberries and gently stir in. Cook in waffle iron.
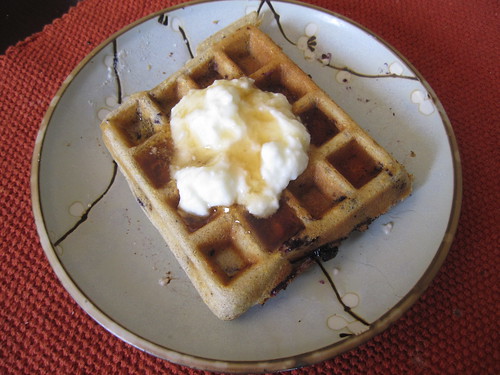
Top with yogurt and syrup if you desire:
It is hard to give up foods that we love—like artisan breads and chocolate croissants for me, or in David’s case, beer. One of David’s hobbies for the past several years has been home brewing. Beer is made from gluten-containing barley (and/or wheat) so it was looking pretty bleak for him to continue his pastime. After he recovered from the initial shock of his diagnosis, however, he started researching gluten free beer, ordered alternative grains and began to experiment with recipes.
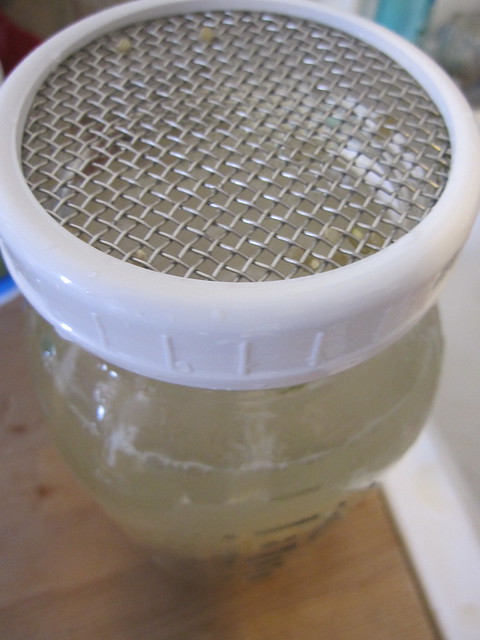
Although you can buy already sprouted grains (here and here), David bought large mason jars with mesh lids for his grain sprouting operation, the first step to brewing beer.
A few weeks ago I mentioned that soaking grains makes them more nutritious. Sprouting grains makes them even more digestible and more nutritious since after sprouting, the grains are “alive.” If you want to learn how to sprout grain, you can find everything you need to get started at www.sproutpeople.org.
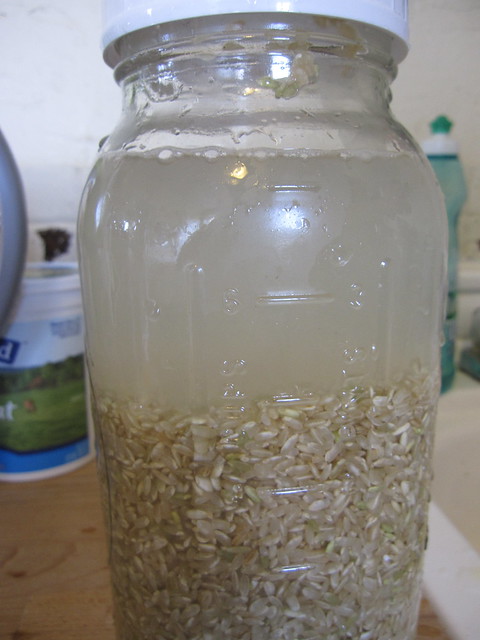
Basically, you want to soak the grains for a period of time, then rinse and drain several times over several days. David sprouted brown rice, amaranth, two types of quinoa, millet, and buckwheat—all gluten-free grains.

grain before sprouting
sprouting the seed at an angle (so the water drains out).
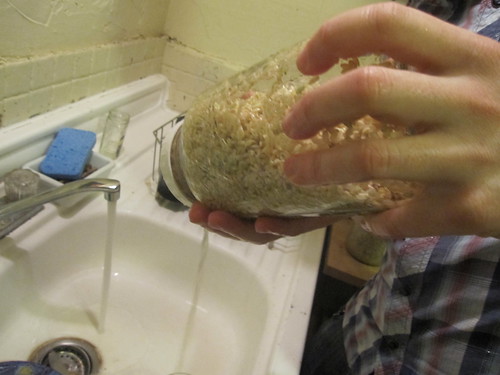
rinsing the seeds
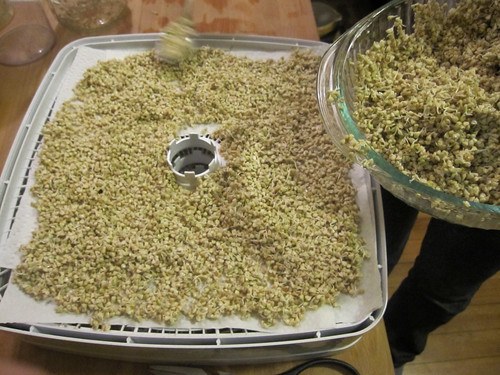
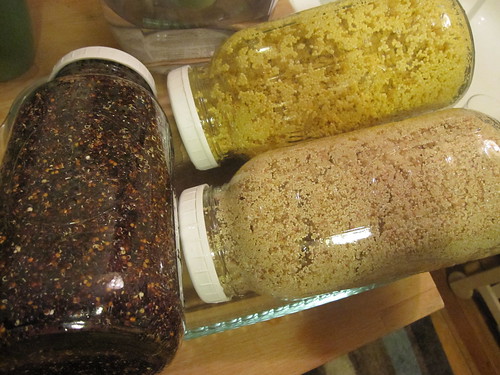
You can buy grains for sprouting in bulk, sprout them, dry them, and then store. David has a grain factory going on for his gluten-free brewing experiments, so he has purchased a dehydrator to dry large quantities of grain. Buy the mesh dehydrator screens for drying grain or for making fruit roll-ups. You can also dry the grains in a very low oven, but it is harder to control the temperature and they must be dried at about 105-110 degrees in order to stay alive. Plus, using your oven takes a lot more energy than the dehydrator.
By sheer coincidence, I cooked sprouted mung beans and brown rice with some kombu sea vegetables the day before I went to Boston. They were completely cooked in only 30 minutes and were delicious. Dried sprouted grains cook much faster than regular grains and have a softer, more delicious consistency (you use less water when you cook them, too). Use them in any recipe that calls for grains. After watching David’s little sprouting farm all weekend, I now am excited to sprout grains at home—for eating, not for beer. I will keep you posted as I start developing recipes.
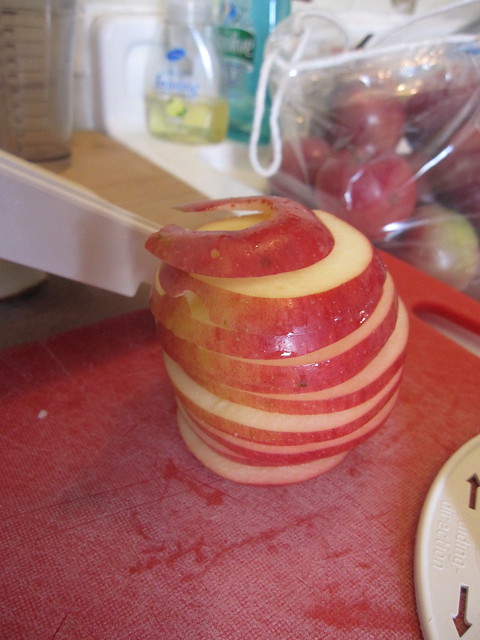
Besides drying grain you can use your dehydrator to dry fruit. Saturday after breakfast, we walked to the Somerville winter farmer’s market. What a wonderful market…complete with blue grass music and lots of amazing products. Among other things, we bought a mixed bag of New England apples and when we got home, prepared them for drying.
First, we cored the apples and then sliced them with a mandolin:
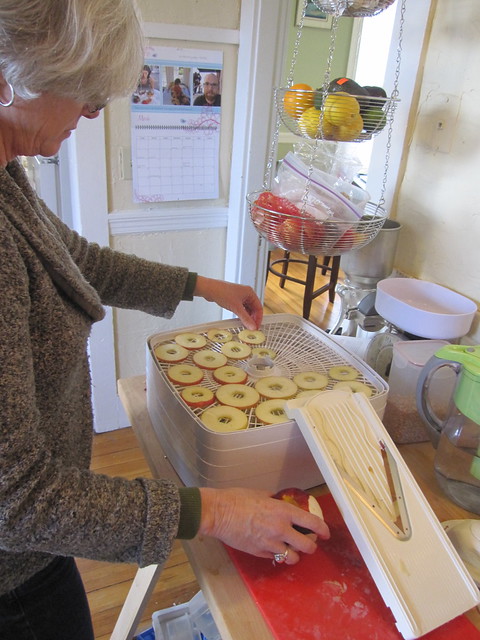
Then we spread the slices on the dehydrator tray:
About 12-14 hours later, we had the most delicious dried apple slices you can imagine:
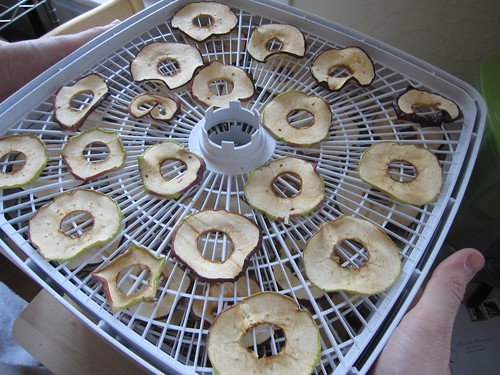
These are great for lunch boxes or after school snacks. You can dehydrate any fruits you want.
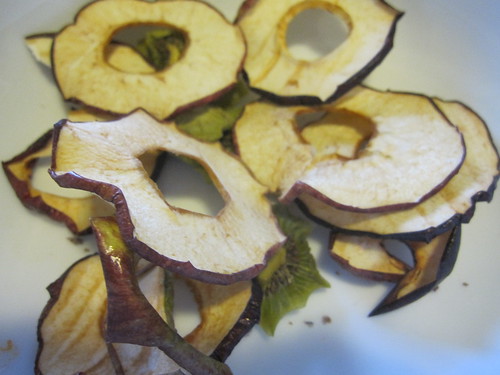
(Kiwis are delicious as are pineapple, apricots, peaches, and mangoes.)
Alyssa’s grandmother used to make dehydrated watermelon and it was her favorite treat growing up. Drying fruit is a fun project to do with kids and they will love the results.
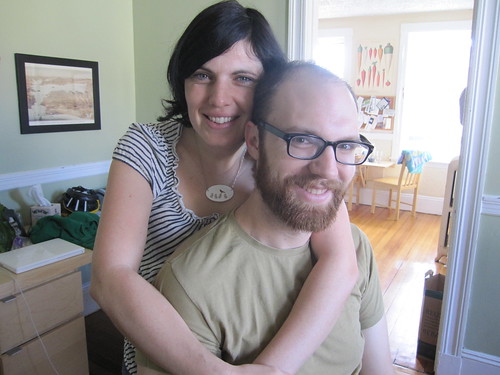
I am on the plane while I write this post—a little sad to leave our Boston family but inspired to try some new cooking ventures at home—and buy my own dehydrator. Thank you, David and Alyssa!
Love,
WWW